Video2XVideo2X

AI Video Denoiser for Cleaner, More Natural Footage

Reduce distracting grain while keeping the people, places, and details you filmed looking natural. Start with a short clip and judge the result in motion.

Reduce noise in your video

MP4 or WebM recommended. One video, up to 5 minutes.

Output resolution

3 credits / second

Estimated cost
Choose a video
Your balance
Sign in to view

Duration rounds up to whole seconds, with a 2-credit minimum per video. Final cost uses the server-verified duration.

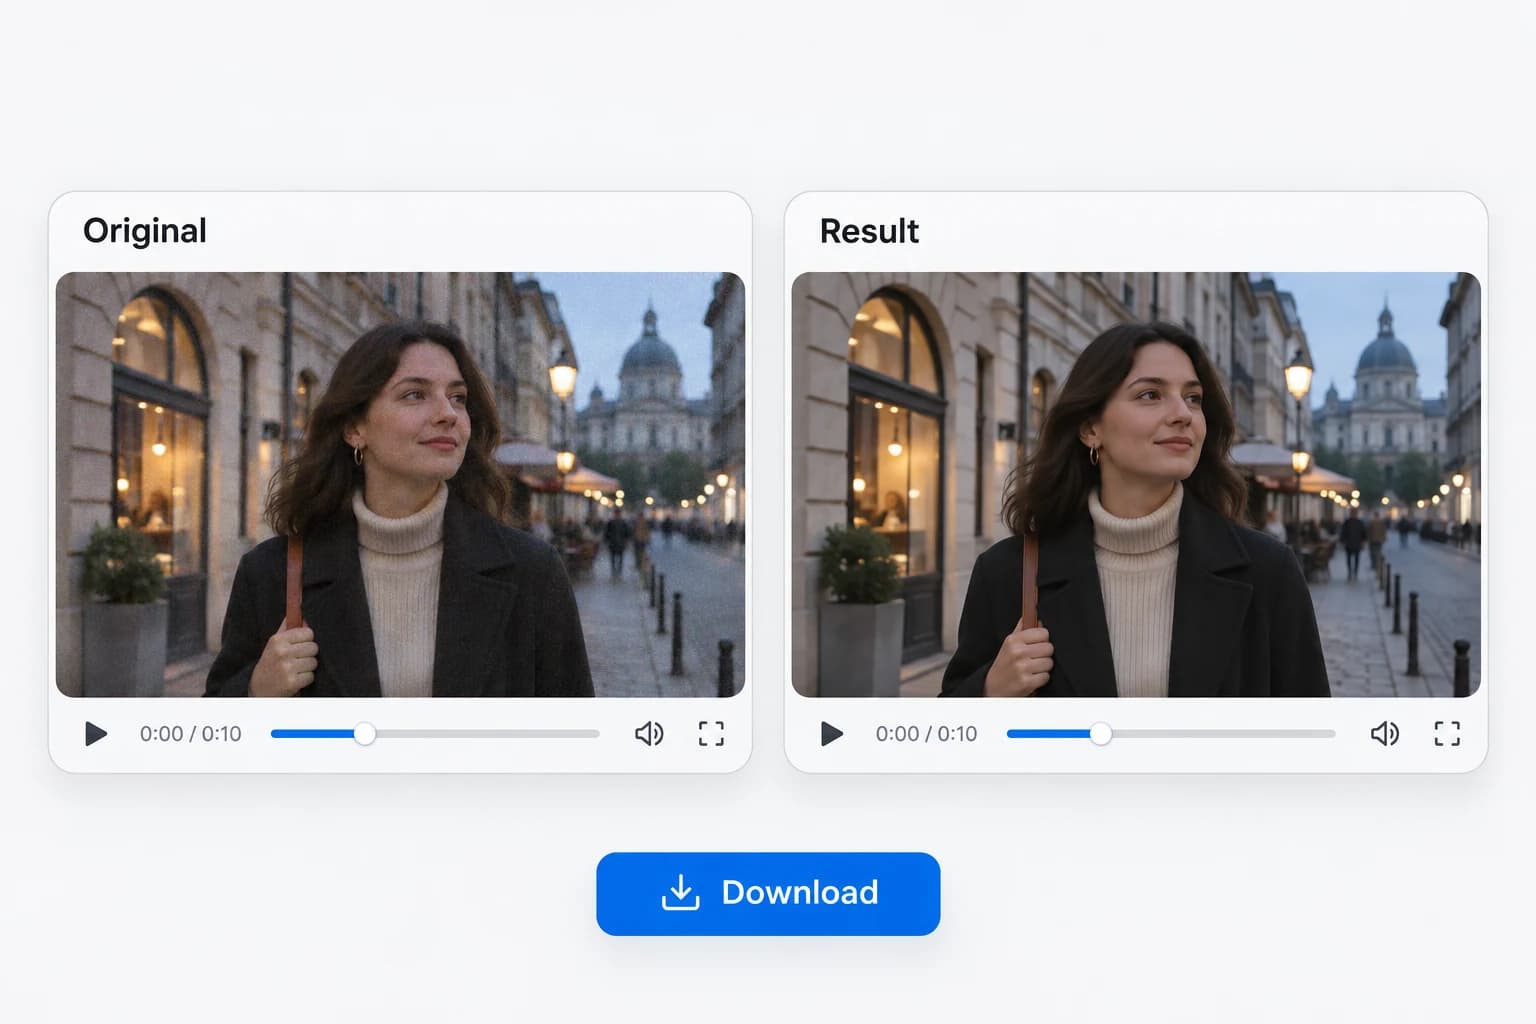
See visible grain become less distracting

What Is an AI Video Denoiser?

An AI video denoiser reduces visible grain and speckles by distinguishing noise from picture detail, helping clean up the image while retaining useful edges and textures.

Noise often shows up in dimly lit footage as restless grain or colored speckles. You may notice it on a wall, across a face, or in the shadows behind your subject.

An AI video denoiser addresses that visual problem. Removing wind or microphone hiss is a separate audio task. Denoising also differs from increasing resolution: a cleaner picture does not automatically become a larger or more detailed one.

AI Video Denoiser Features That Keep Your Footage in Focus

Cleaner footage takes more than a smooth background. Reduce distracting grain, inspect the details that matter, and choose a result that still looks natural in motion.

Reduce distracting grain

Use the AI video denoiser to reduce visual noise in the footage you already have. Start with the areas where grain pulls your attention away from the scene, such as a dark wall behind an interview or a shadow across a product.

Give low-light clips a closer look

Try a short section of your evening or indoor footage before processing a longer edit. An AI video denoiser can be useful when noise is the main distraction, but it cannot guarantee a clean rescue of every dark scene.

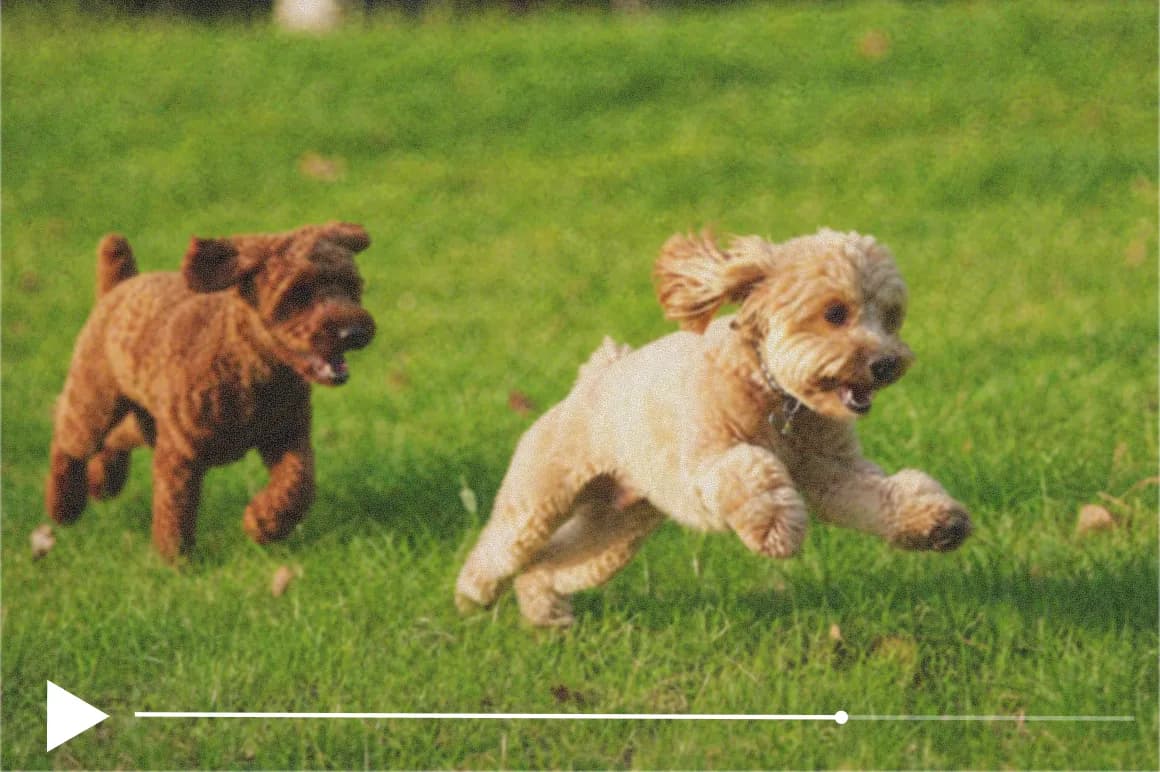
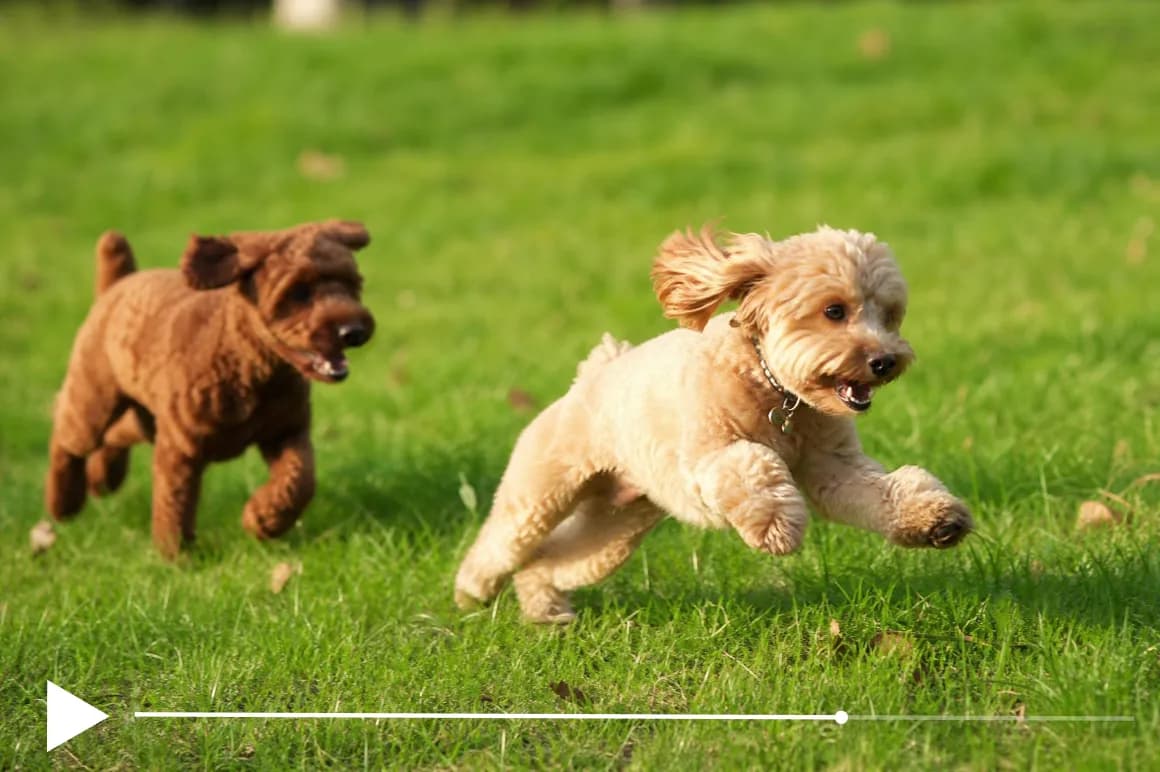
Illustrative cleaned frame of two running dogs, showing fur and grass detail
The same frame of running dogs with visible grain before cleanup
BeforeAfter

Compare the detail, not just the background

Check hair, clothing texture, small lettering, and the outline of a moving face. A smoother result is not always the better result. Keep the version that reduces distraction without making the subject look unnaturally soft.

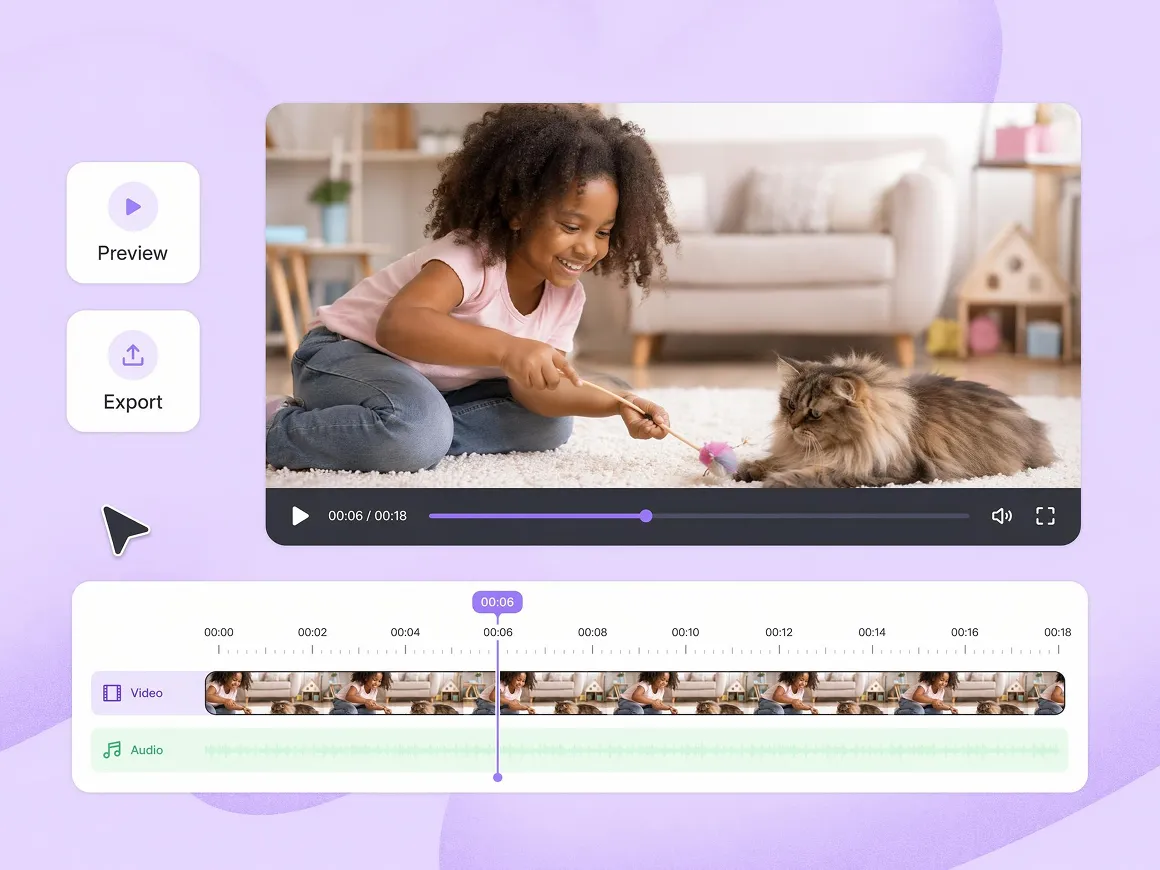
Illustration of a video preview used to review a clip before export

Make the decision with your own clip

Compare the original and processed video at the same display size. Play both through a section with movement, then inspect a still frame. Use that comparison to decide whether the improvement suits the footage you plan to publish.

What Can You Clean Up with an AI Video Denoiser?

Give the footage you want to keep a closer look, from evening phone clips and indoor interviews to travel videos and older digital recordings.

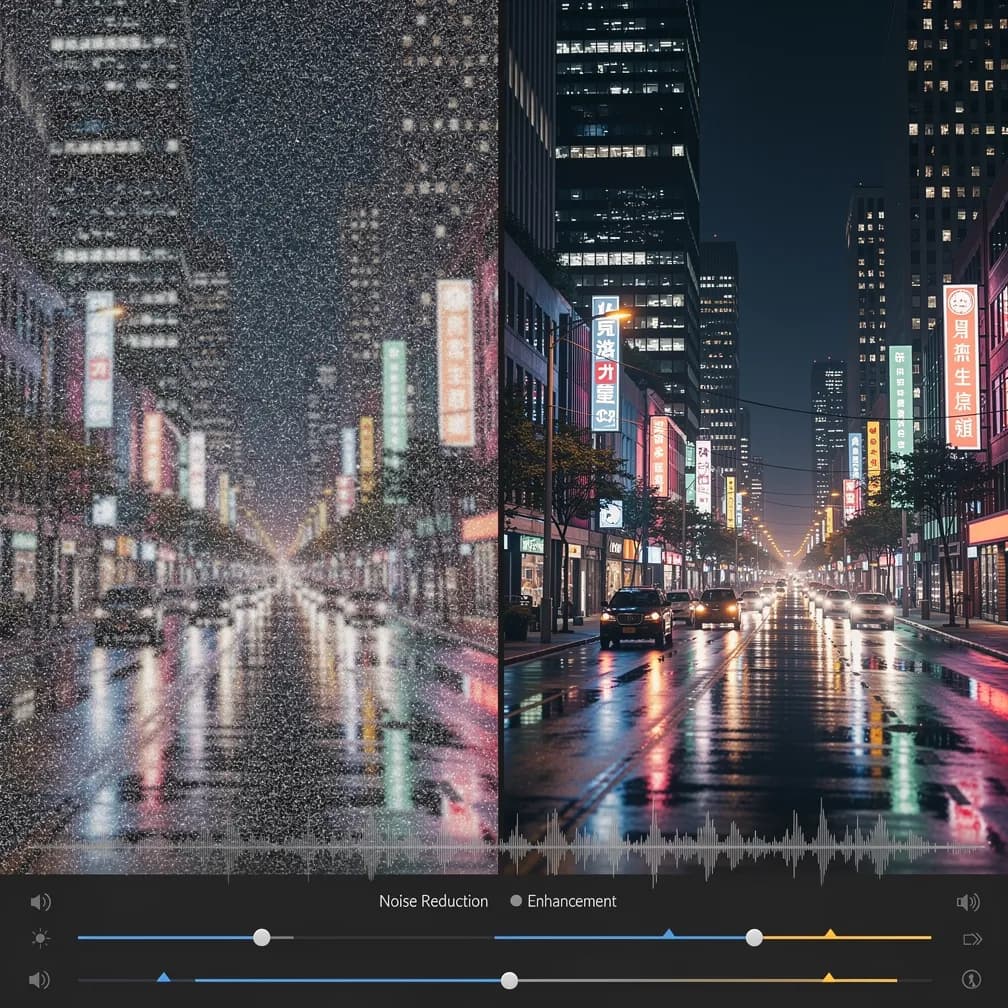
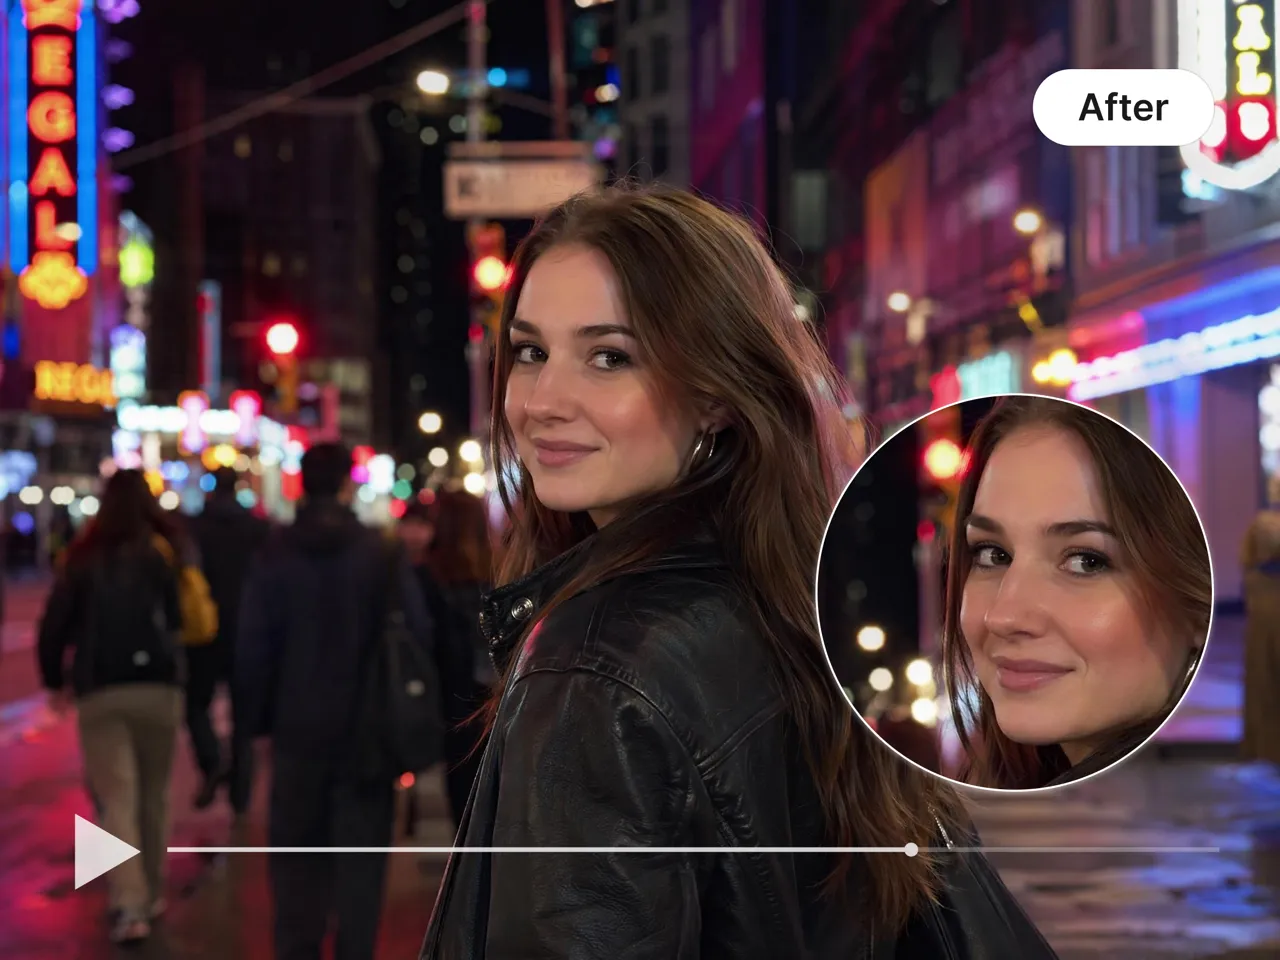
Night city footage showing grain in the shadows and a cleaner comparison

Evening phone footage

Check dark skies and shadowed buildings while making sure faces still look natural.

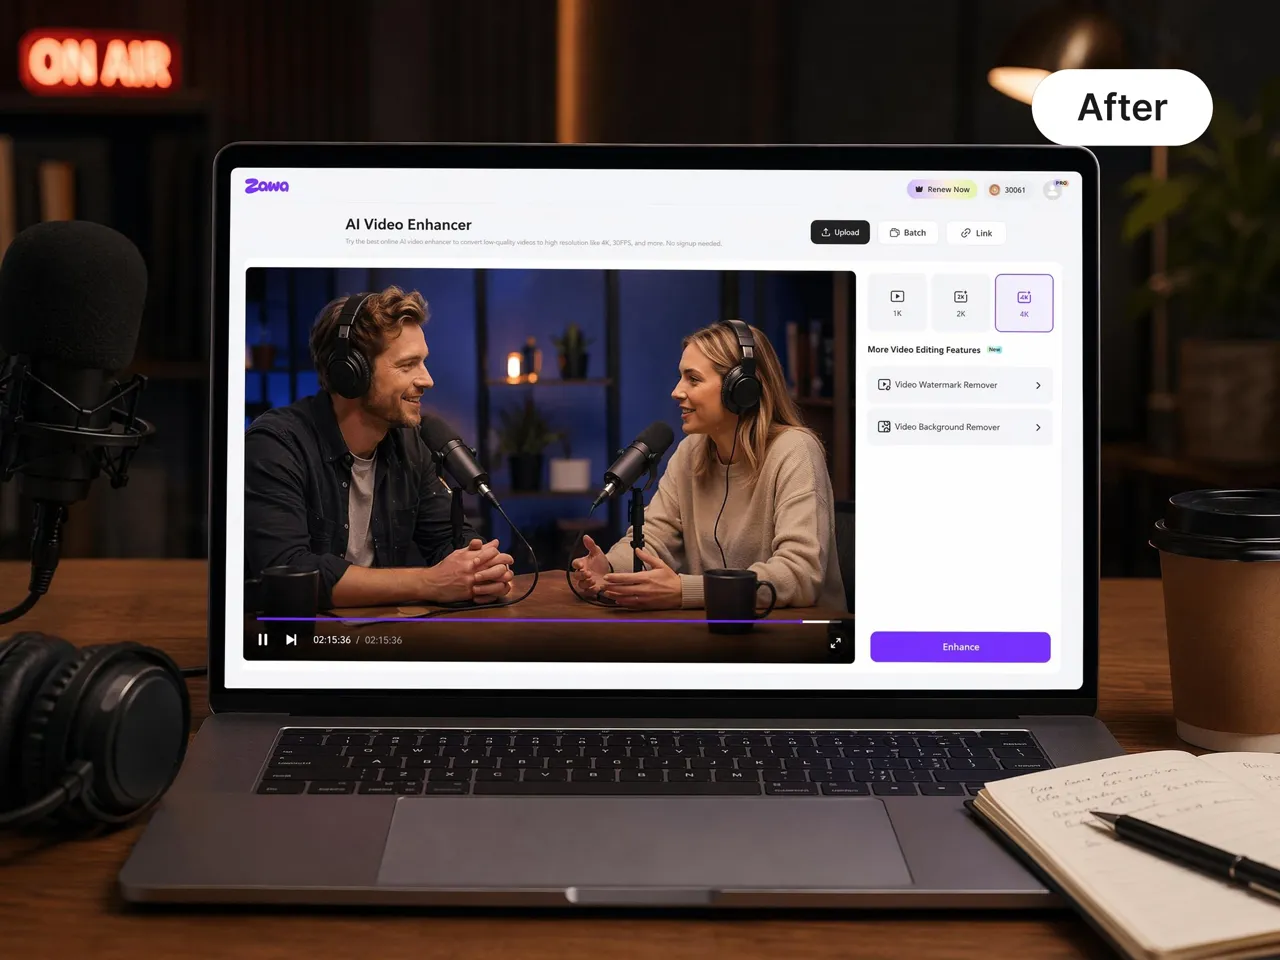
Indoor interview footage with two speakers and microphones in a dim studio

Indoor interviews

Look for distracting grain on walls and clothing, then check the speaker's facial detail in motion.

An evening street portrait illustrating low-light travel and vlog footage

Travel and social clips

Test restaurant scenes and late walks before placing them beside your brighter daytime footage.

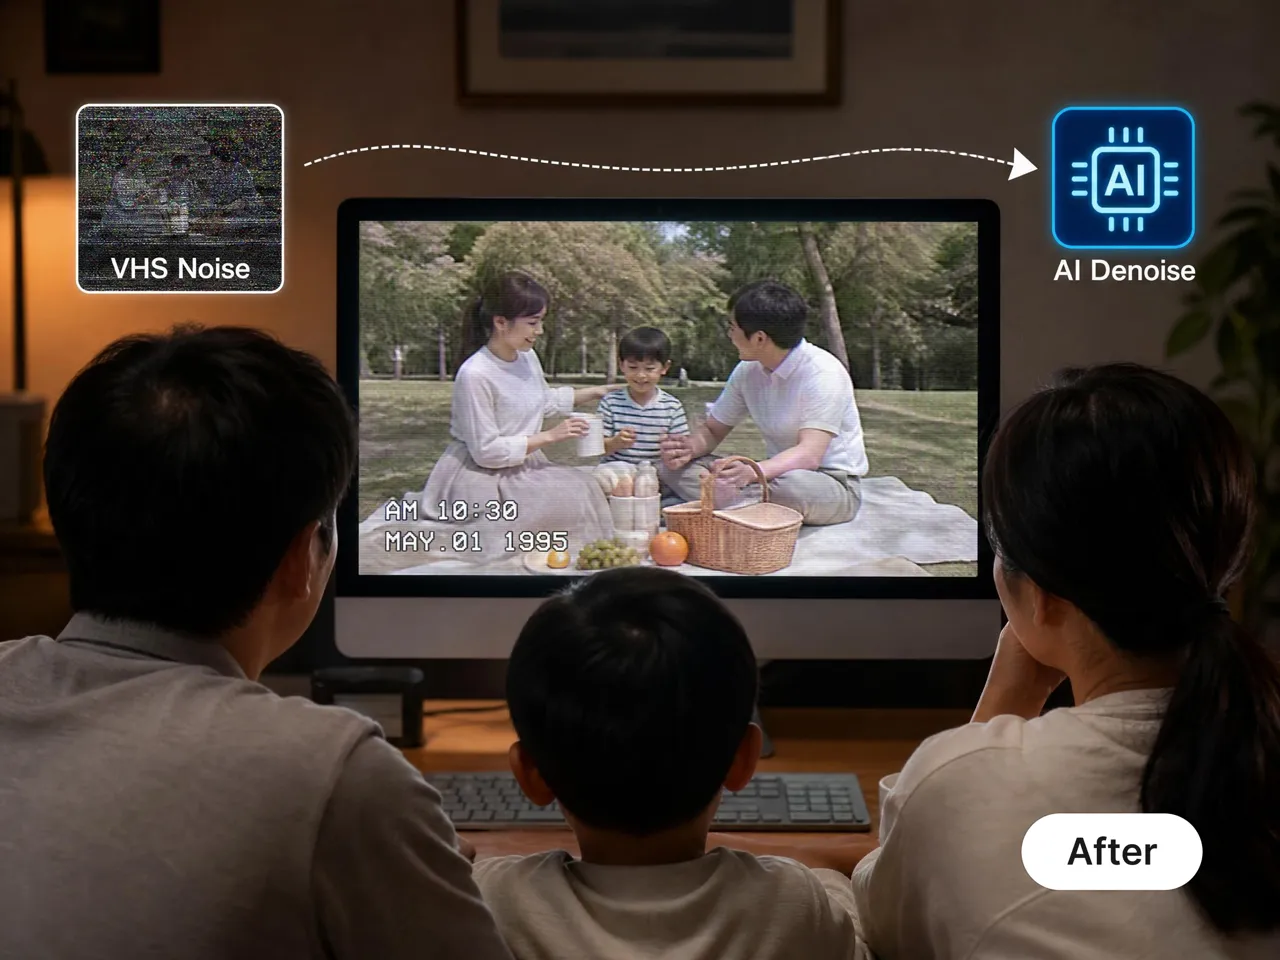
A family watching an older home recording on a television

Older digital recordings

Use an AI video denoiser to evaluate noisy footage, while keeping expectations separate from repairs for missing frames or damaged files.

Who Is This AI Video Denoiser For?

Whether you are finishing a creative project, preparing a product video, or saving a personal memory, start with a sample that reflects your footage's lighting and movement.

Creators finishing an edit

Test the noisy section of a vlog or tutorial before replacing it in your timeline. Judge it beside the neighboring shots so the finished video still feels consistent.

Small teams preparing product videos

Check labels, fabric, and surface texture before using a cleaned clip. An AI video denoiser should help the picture, while your product still needs to look accurate.

People keeping personal memories

Start with a short moment from an older recording. Save the source separately and decide whether the processed version makes the scene more enjoyable to watch.

AI Video Denoiser or Video Upscaler: Which Do You Need?

Choose noise reduction for distracting grain and upscaling for limited resolution. Identify what bothers you about the original before deciding which process to test.

What you noticeWhat to evaluate
Moving speckles in an otherwise usable pictureVideo noise reduction
A clean picture that is too small for your projectVideo upscaling
A small picture with visible grainBoth needs, with a careful comparison after processing
Wind, hiss, or distracting voicesAudio cleanup

An AI video denoiser is not a replacement for every repair. It does not guarantee recovery of missed focus or details that are absent from your source. If resolution is your main concern, explore the Video2X video upscaler and keep the two decisions separate.

How to Use the AI Video Denoiser

Start with a short, representative clip. Reduce the grain, check the details in motion, and keep the version that works for your edit.

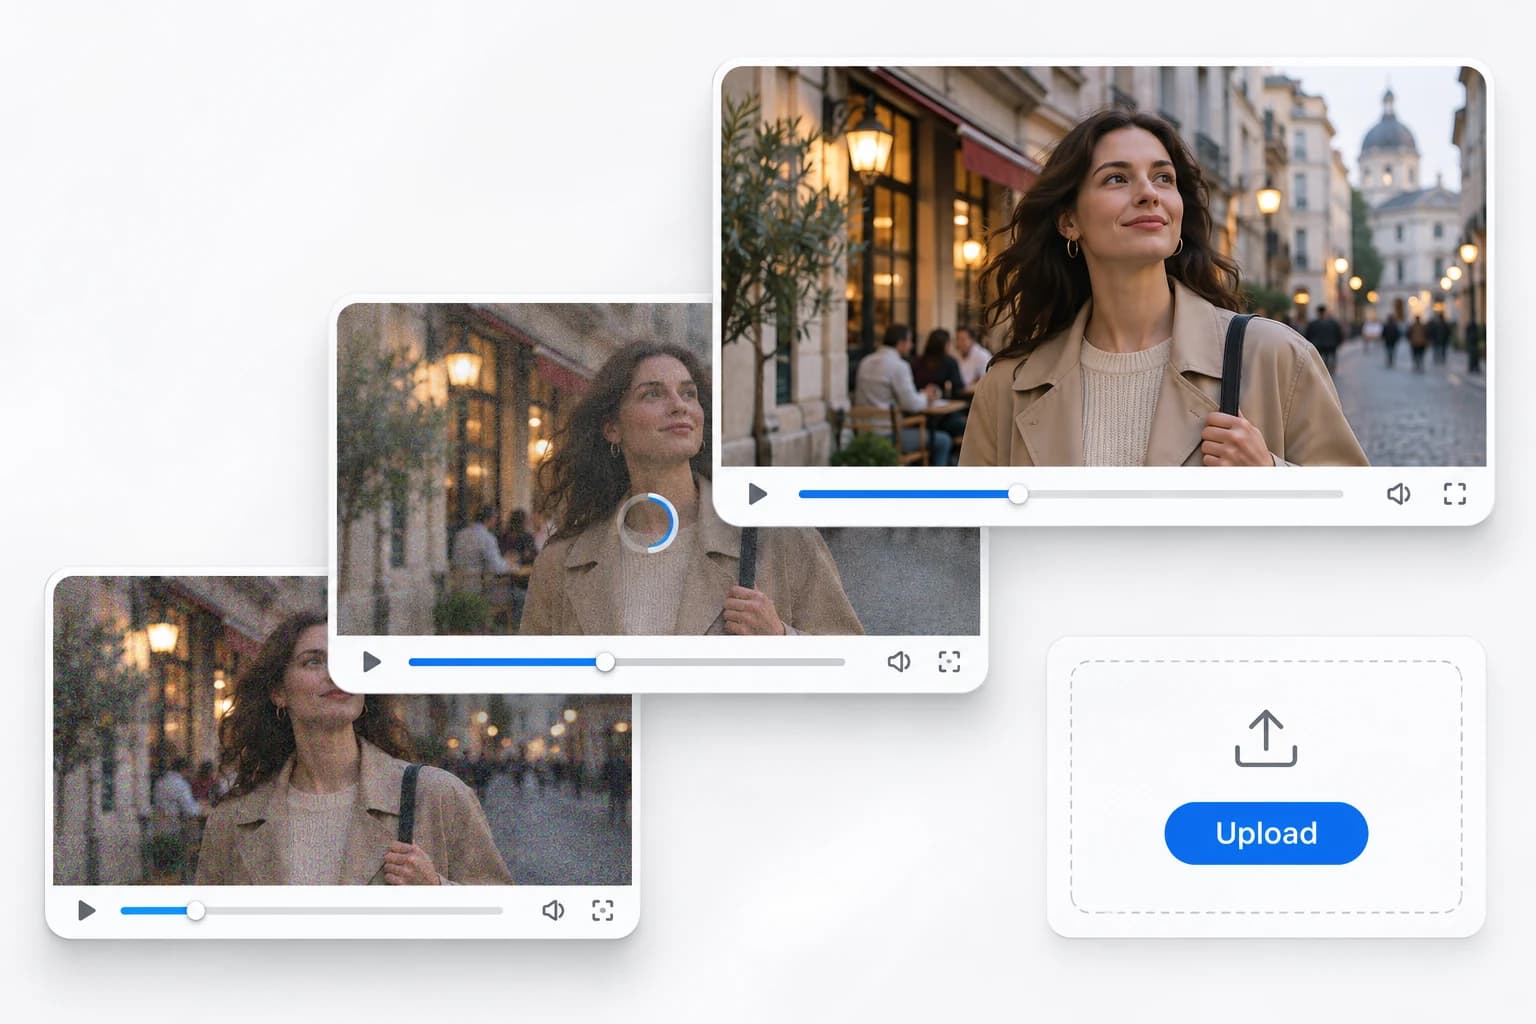
  1. Illustration of video thumbnails and a blue upload control on a white and light gray background

    1. Upload your original clip

    Choose the clearest source file you have. Include the noise you want to reduce, the details you want to keep, and a moment with movement.

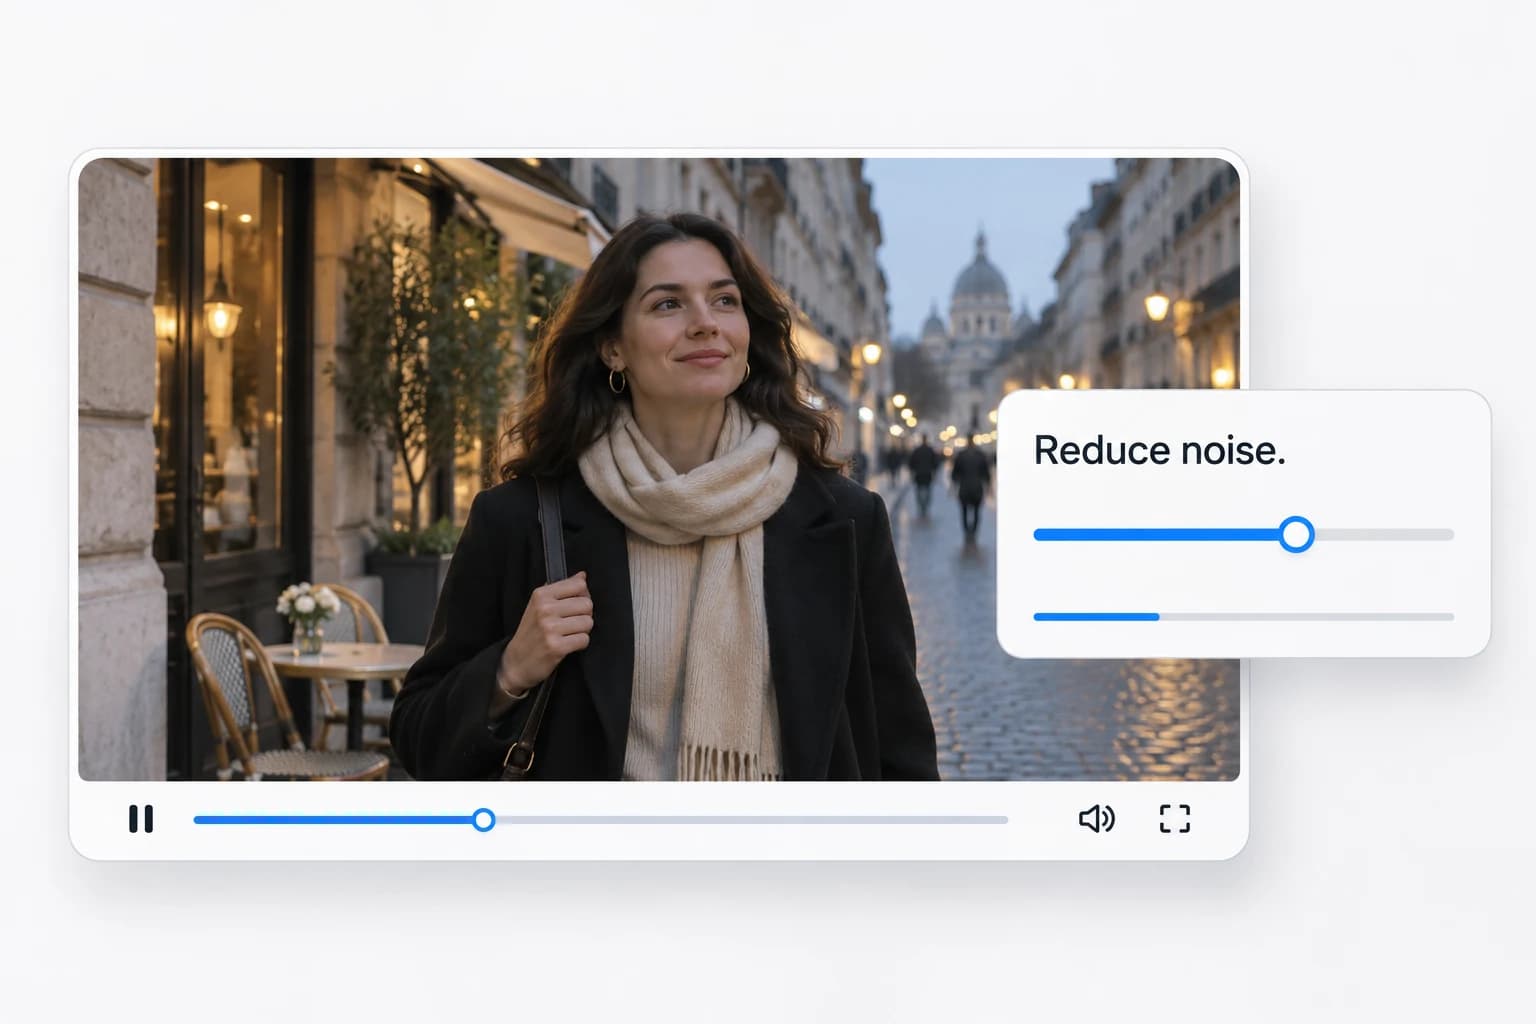
  2. Illustration of a video preview with a noise reduction control

    2. Reduce noise and review the detail

    Process a short sample first. Look beyond a smoother background: check faces, hair, fabric, and edges for detail you want to preserve.

  3. Illustration of original and processed video previews with a download control

    3. Compare and download your result

    Compare the same moment at the same size, then play the clip. Save the version you prefer, keep the original, and check the downloaded file in your usual player or editor.

AI Video Denoiser FAQ

Understand what video noise reduction can change, where detail may be lost, and how to compare results before processing a full video.

Can an AI video denoiser remove grain from video without making it blurry?

An AI video denoiser aims to reduce grain while keeping useful detail, but some softening is possible. Heavy noise can make fine texture harder to distinguish from unwanted speckles. Check the areas you care about most, including skin, hair, lettering, and fabric. Compare the same moment at the same size, then play a section with movement. A smooth background is not enough if the subject loses its natural texture. Use the result that gives your footage the most useful balance, rather than expecting every trace of grain to disappear without a tradeoff.

Does an AI video denoiser remove background audio noise?

Visual video denoising and background audio noise removal are different tasks. A tool that reduces grain in the picture does not automatically remove wind, hiss, or unwanted voices. First identify whether the problem is something you see or something you hear. If both need work, assess the picture and sound separately instead of assuming one setting handles both. Check any audio options before processing and listen to the downloaded result afterward. This page concerns visible grain; it does not promise an audio cleanup feature or a particular treatment of your original soundtrack.

Can an AI video denoiser fix low-light footage?

An AI video denoiser may help when visible grain is the main problem in a low-light recording. It cannot guarantee that an underexposed scene will regain every missing detail. Start with a sample that includes a face or another subject you care about, along with the noisy background. Compare how both areas change, rather than judging only the shadows. If the source is also out of focus or heavily damaged, noise reduction alone may not give you a usable shot. Keep the original and decide whether the processed version improves the scene for your particular edit.

How should I compare an AI video denoiser and upscaler?

Compare an AI video denoiser and upscaler by the problem each is meant to solve. Denoising targets visible noise, while upscaling increases the dimensions of the image. If a clip is both small and grainy, evaluate whether the processed picture meets both needs instead of assuming a larger file is cleaner. Use the same source scene and a consistent viewing size when judging texture. Check movement as well as still frames so your decision reflects the finished video. The existing Video2X upscaler is a separate starting point when your main goal is higher output resolution.