Video2XVideo2X

AI Frame Interpolation for Smoother Video

Make movement more continuous by adding frames between the action. Start with a short clip and see whether smoother motion fits the pace of your edit.

Make movement smoother in your video

MP4 or WebM recommended. One video, up to 5 minutes.

Output resolution
60 fps
Slow motion
Estimated cost
Choose a video
Your balance
Sign in to view

Estimate includes resolution, frame rate, and slow motion, with source duration rounded up to whole seconds. Final charge uses server-verified video details.

OriginalInterpolated

What Is Frame Interpolation?

Frame interpolation estimates the movement between recorded frames and generates intermediate images. Those extra frames can support smoother playback or a slower view of the action.

Illustrative motion comparison

AI frame interpolation uses a trained model to predict those missing moments. You may also see the broader terms video interpolation or motion interpolation. The new images are estimates, so they are not a record of details the camera actually captured.

More frames, or more time?

Take a 10-second clip recorded at 30 fps: it contains about 300 frames. Generate about 600 frames and play them at 60 fps, and the clip still lasts 10 seconds. Play that expanded sequence at 30 fps, and it lasts about 20 seconds instead.

Frame interpolation supplies the extra images. Your playback settings determine whether you get smoother motion at the original speed or a slow-motion effect.

Source clip

Frames
~300 frames
Playback
30 fps
Duration
10 seconds

Smoother playback

Frames
~600 frames
Playback
60 fps
Duration
10 seconds

Slower playback

Frames
~600 frames
Playback
30 fps
Duration
20 seconds

Frame Interpolation AI, Focused on Your Footage

Focus on the movement you want to improve. Choose your intended pace, compare the result with the original, and check whether the added frames look convincing.

BeforeAfter
Illustrative motion comparison

Increase video FPS for smoother playback

Use additional frames when a moving subject or camera pan looks too abrupt. Choose an output that fits your edit, then watch it at normal speed. A higher number is useful only when the movement looks convincing.


BeforeAfter
Illustrative motion comparison

Work from the clip you already have

AI frame interpolation starts with existing footage. Choose a phone recording, a camera clip, or an exported animation you want to refine. There is no need to describe a new scene or replace the story you filmed.

BeforeAfter
Illustrative motion comparison

Choose the pace of the action

Decide whether you want the original timing or a slower moment. Treat video interpolation and playback speed as separate decisions, especially when dialogue, music, or cuts need to stay in time.

Illustrative interpolated frame: an animated action scene
Original reference frame: an animated action scene
BeforeAfter
Illustrative motion comparison

Review the difficult moments

Frame interpolation can make mistakes around crossing objects, quick direction changes, or fine edges. Look at those moments before choosing the finished version. Keep the original wherever the processed motion feels less natural.

What Can You Make with Video Frame Interpolation?

Explore smoother camera moves, more continuous action, and refined animation. Focus on clips where the way a subject moves makes a difference to the finished video.

Illustrative interpolated frame: a surfer moving across a wave
Original reference frame: a surfer moving across a wave
BeforeAfter
Illustrative motion comparison

Smoother clips for your next edit

Test walking shots, pans, and moving subjects before adding them to a longer video. Compare the rhythm of the processed clip with the shots around it.

OriginalInterpolated
Illustrative motion comparison

More continuous animation

Try frame interpolation on an exported animation or AI-generated clip with uneven motion. Review faces, hands, and changing shapes carefully; added frames cannot guarantee that inconsistent source details become correct.

Who Is Frame Interpolation For?

Consider frame interpolation when a shot looks choppy or your edit calls for slower action. Creators, editors, and people revisiting family footage can evaluate a representative clip first.

Creators and small teams

Try a short section of a product demo, travel clip, or social video. Check the result in the same context as the finished post.

Video editors

Use a representative shot to assess frame interpolation software before committing a longer sequence. Include a camera move, an overlap, and a cut in your review.

People revisiting family footage

Compare moving subjects while keeping the original recording. Decide whether a smoother version fits how you want the memory to look.

Animation makers

Evaluate the timing before adding frames. Deliberate pauses and stepped movement can be part of the style you want to preserve.

Frame Interpolation vs Upscaling

Frame interpolation makes movement more continuous; upscaling increases image dimensions. Start with the problem you see in your footage to decide which process fits your project.

Your goalProcess to considerWhat to inspect
Make movement more continuousFrame interpolationMoving edges, overlapping subjects, and cuts
Increase the image dimensionsVideo upscalingFine detail, faces, textures, and text
Extend an action in timeSlow playback, with interpolation if neededPacing, motion accuracy, and audio timing

Start by naming the problem in your source. If the subject jumps between positions, look at the motion. If the picture is too small for the destination, look at resolution. If both matter, test the changes separately so you can see what each one contributes.

Frame interpolation does not automatically make a video sharper, and increasing resolution does not automatically make movement smoother.

Explore Video2X Video Upscaling

How to Use Video Frame Interpolation Online

Start with a short clip, choose your frame rate and playback speed, then compare the motion before downloading your result.

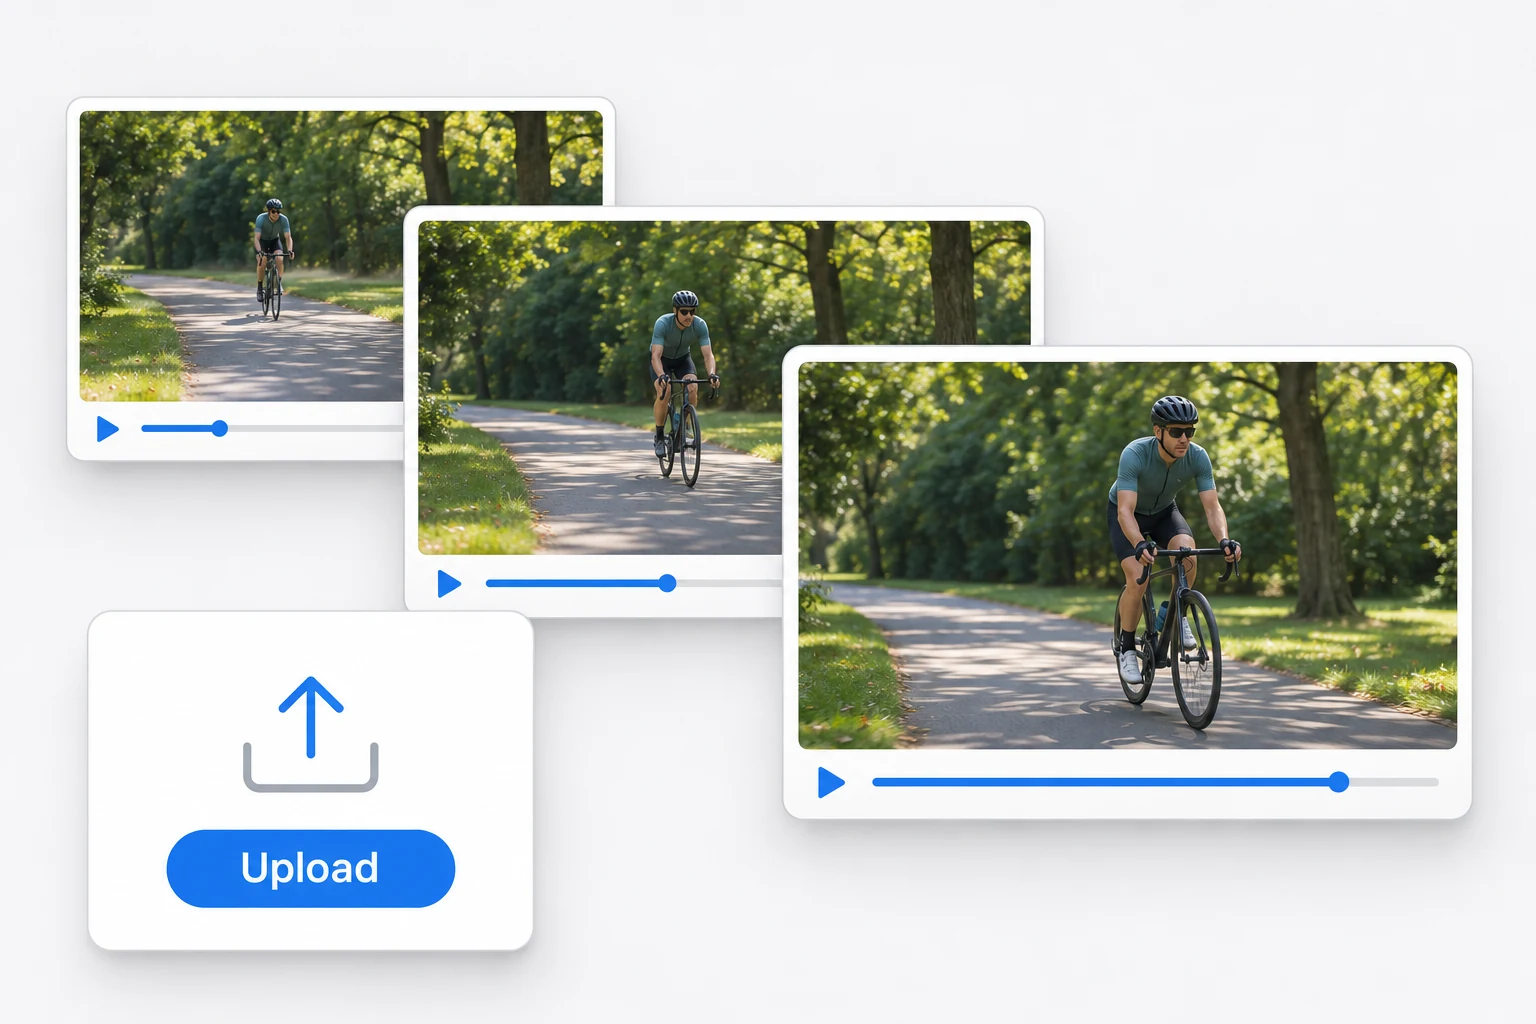
  1. Illustration of cyclist video thumbnails and a blue upload button on a white and light gray background

    1. Upload your original clip

    Choose a short video with visible movement and keep the original file. Use a shot with a clear subject so you can judge what changes between frames.

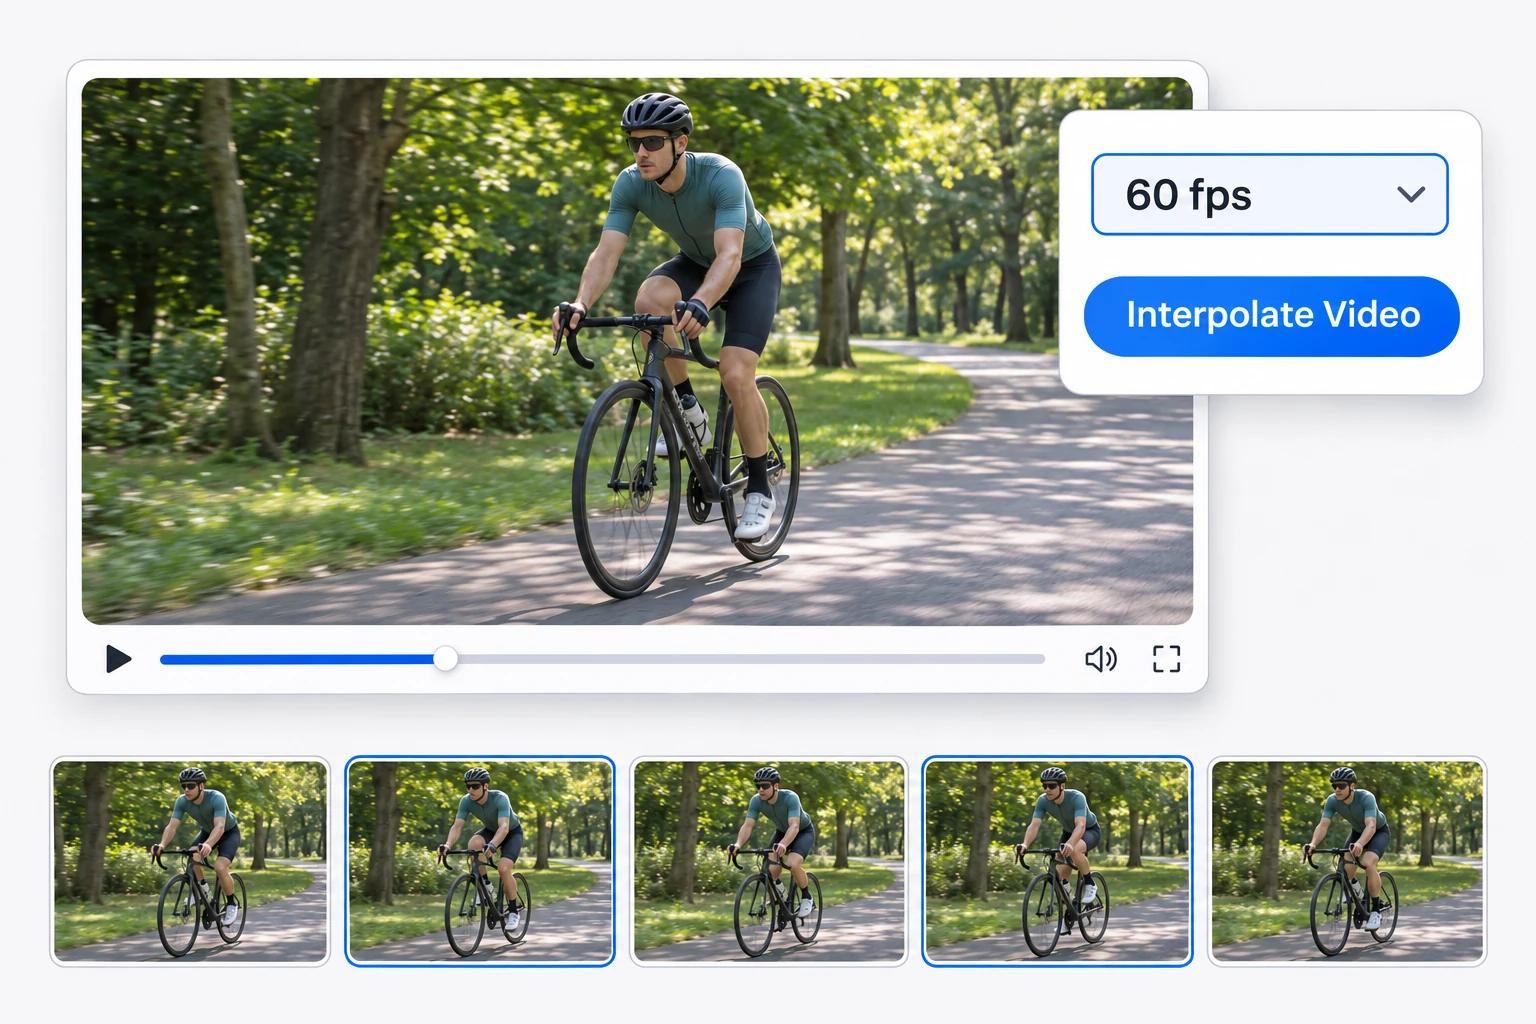
  2. Illustration of a cyclist video preview, a 60 fps setting, and an Interpolate Video button with intermediate frame thumbnails

    2. Choose your output and interpolate

    Select your output resolution, target frame rate, and playback speed. Review the estimated credits, then choose Interpolate Video to generate the intermediate frames.

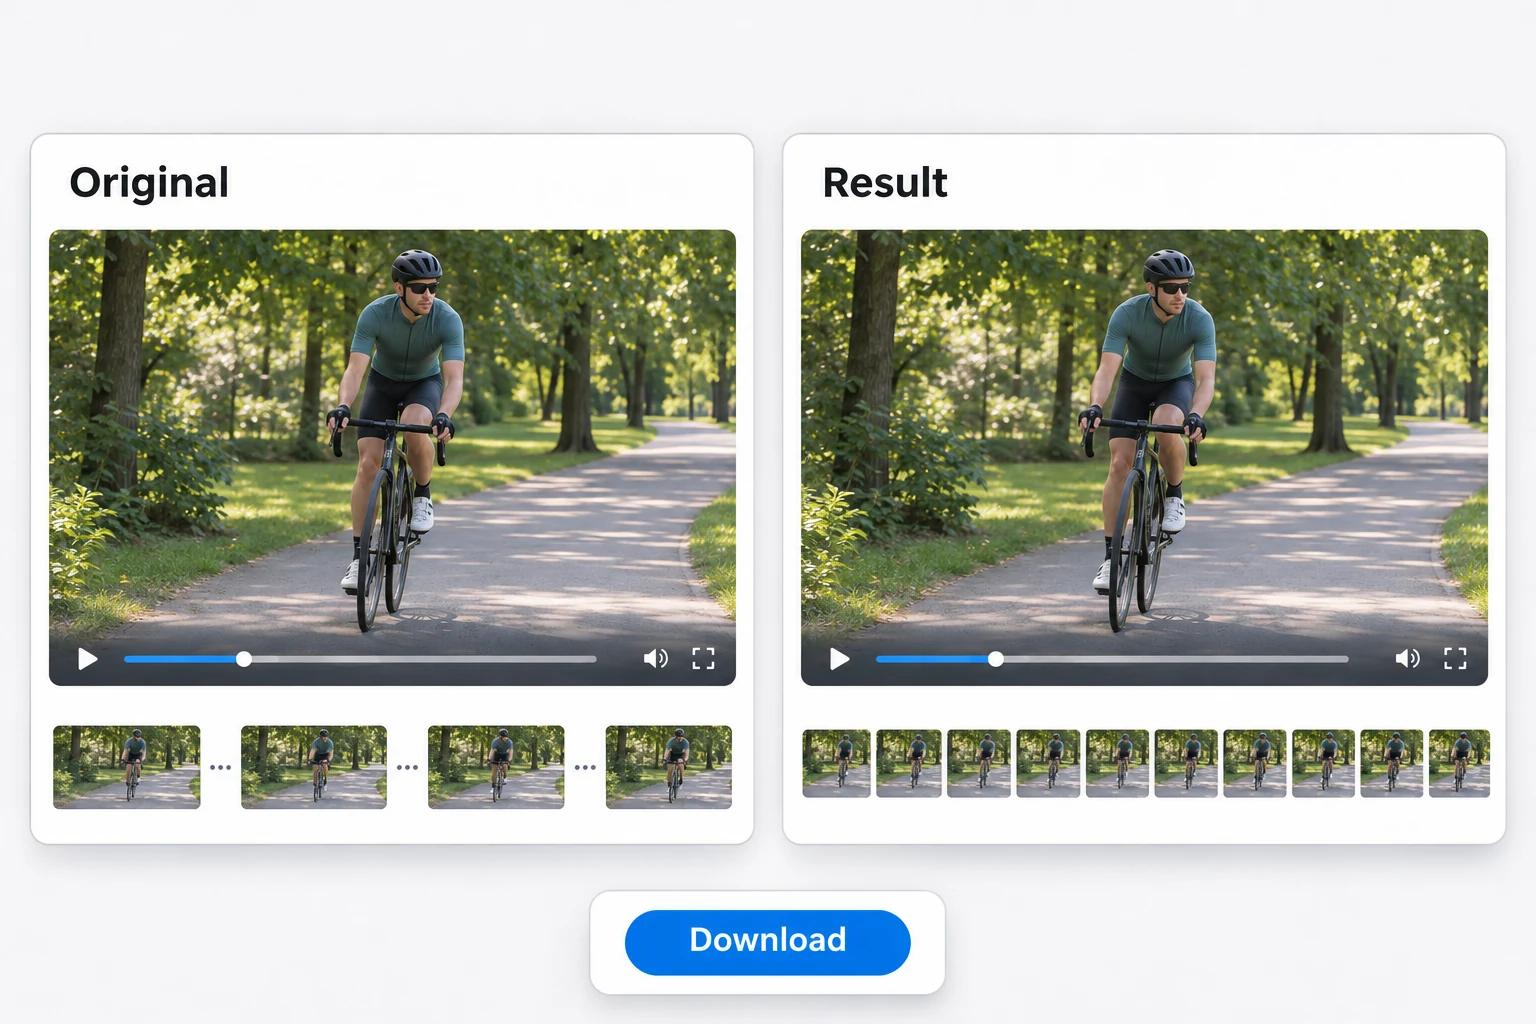
  3. Illustration of original and interpolated cyclist video previews with sparse and dense frame timelines and a download button

    3. Compare and download your result

    Watch the result alongside your source, checking moving edges, overlaps, and cuts. Download the version you prefer, then confirm its frame rate, duration, and audio timing in your usual player or editor.

Frame Interpolation FAQ

Find clear answers about motion, timing, and output checks so you can judge frame interpolation against your source footage and the video you want to deliver.

What is frame interpolation in video editing?

Frame interpolation creates new images between existing video frames by estimating the movement between them. In video editing, those added frames can support a higher output frame rate or smoother slow motion. The outcome depends on how you play the new sequence, so generating more frames does not automatically make the clip longer. AI methods predict intermediate images from the surrounding footage rather than recovering a second recording of the event. Keep that distinction in mind when accuracy matters, especially around objects that appear or disappear between frames. You can use a short test to judge whether the motion fits your edit.

Does frame interpolation always improve a video?

No, frame interpolation can introduce visual errors or change a style you wanted to preserve. Fast movement, overlapping subjects, and sudden scene changes can make the generated frames less convincing. Look for doubled edges, bending lines, or shapes that briefly stretch when you review the result. A film clip or animation may also lose some of its intended rhythm when every movement becomes more continuous. Compare the processed version at normal playback speed, then inspect any moment that feels wrong. Keep the source available so you can use the original shot when it better serves the finished video.

Can I use frame interpolation online without a full video editor?

Yes, online frame interpolation tools can process a clip without requiring you to assemble a timeline in a full editor. The available controls, upload limits, and export options depend on the service you choose. For a straightforward workflow, bring an existing clip, choose your output, and evaluate the result before using it. Before choosing any frame interpolation software, check whether it accepts your source and exports the format you need for your next step. A browser interface does not by itself tell you whether processing happens on your device or on a server. Review the service's actual file handling terms before uploading private footage.

Frame interpolation vs frame generation: will this improve my gaming FPS?

Processing a recorded gaming clip does not increase the frame rate of the game running on your computer. Frame generation inside a game operates during gameplay, while a video tool changes an already recorded file. Frame interpolation can help you evaluate smoother playback for a highlight or replay, but it does not improve how quickly the game responds to your controls. Look for the game's own settings and supported hardware features when your goal is better live performance. For an exported recording, judge the picture as a video edit instead. Pay particular attention to fast camera turns and on-screen text when comparing the result.

What should I check before using the exported video?

Check the result's motion, duration, output frame rate, and audio timing in the player or editor you plan to use. Keep the source nearby so you can compare any part that looks or sounds different. Watch the complete clip first, because an isolated frame may not reveal a problem with the rhythm of movement. Then inspect cuts, overlapping subjects, fine edges, and any moment that seems to bend or flicker. If you selected slower playback, confirm that the new duration fits your edit and decide how the sound should be handled. Finish by testing the file in its intended destination before replacing the original in your project.